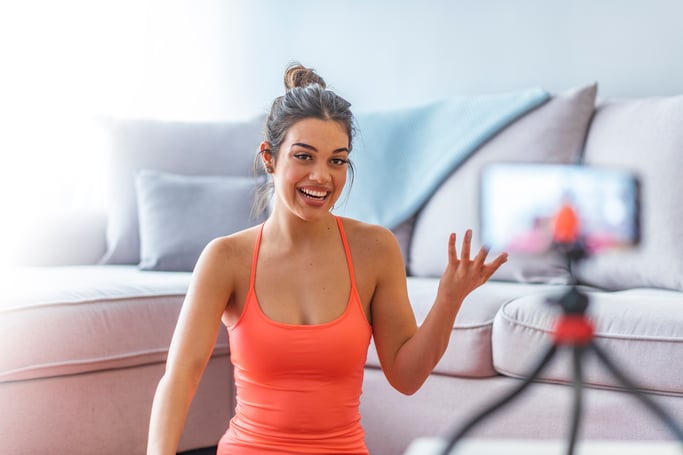
There are critical first steps to consider when creating and recording a fitness video smoothly and effectively. Though much more can be discussed on how to use editing software and tools to add music, text, and effects to increase the professional look of your videos, these tips will get you started; especially if recording videos is new for an online class.
Overall, knowing your primary goal, planning and preparing efficiently, and keeping in mind essential recording logistics will help you along the way.
For additional tips on recording videos, formatting your group fitness classes to a virtual format, and more be sure to check out our virtual training mini course for group fitness.
Step 1: Define The Main Purpose of Your Fitness Video
The first important step is to define the main purpose or goal of the video before starting to record. To determine this, it is essential to ask yourself the following questions, “Why is this video content important?” "What is the main outcome I hope to achieve?" and “what do I want those watching the video to get out of it?” These questions will help you identify the purpose behind the video.
Once this purpose is known, it is much easier to prepare accordingly and implement action steps. For example, If the video intends to provide a high-quality intermediate step workout, then it is important that the movements are challenging, and that the education within the video does not take away from the workout itself. Alternatively, if the purpose of the video is to educate on a specific topic, or promote fitness services, it will be important to make sure there is enough content to interest your participants. Knowing the primary motivation behind recording the video leads to effective planning.
Step 2: Prepare your Digital Workout
As hinted at above, preparation is the second step. Taking time to prepare what the video recording will entail or consist of will help increase the likelihood of successfully meeting the goal. Furthermore, it is during the preparation stage that you will be able to decide on the specific details of the video. Listed below are some examples of ways to prepare:
- Decide on the main points you want to educate your participants on.
- Outline the details you plan to share, and the order they should be shared in.
- If creating a workout video, decide on the central theme of the class. For example, if you are teaching a strength class, you might decide that your focus will be on pressing movements.
- Plan out the exercises that you plan to teach within the class and the order in which you will teach them.
- Think about which cues or disclaimers to add to the video. This can apply either for a workout or educational content videos.
- Research and make sure you adequately source anything that needs to be sourced.
Step 3: Practice, Practice, Practice!
Once you plan everything out, the next step is to practice what you will say and how you will say it. The more that you practice before you go on camera, the more equipped you will be once the camera starts rolling. If you get nervous on camera, the preparation done in advance of recording will be essential in helping you remember what you wanted to say and stay on task.
Similarly, practice the exercises that you plan to demonstrate in the workout video. This is similar to what is done while preparing for a live fitness class. When preparing in either context, it is crucial to test out the exercises first so that you know that you can effectively perform the movement before teaching others. All exercises you pick should be ones that you can comfortably and safely do on video since participants consider you the expert.
Step 4: Select Best Environment, Time of Day, and Camera Location to Record
When you decide, you are ready to record, select the best environment available to you. More specifically, make sure that the environment chosen is simple and clean so that the environment does not take away from the video content. In addition to deciding upon the environment, decide on the best time of day to record. Ideally, pick a time and day where outside noise and lighting will work to your advantage.
Remember, while recording the environment, lighting should not be too light or too dark. It is recommended that before you start recording, test out the video quality of your device, and make any necessary adjustments to the equipment used.
Next, consider the best camera location so that it is possible to get multiple views or angles while recording. This is especially important if demonstrating exercises in the video. Seeing a movement in the front view, side view, and back view can provide a different understanding for participants. Lastly, do not be surprised if you end up needing to record a few times, or it takes longer than you think. When being recorded, nerves can unexpectedly impact the tone of voice, pronunciation, and quality of movement.
Step 5: Make a Video Introduction
At the start of your video, make sure to introduce yourself, who the video is intended for, and what you hope participants will get out of watching the video. This is important so that viewers buy into the purpose you defined at the starting point.
Step 6: Give Cues & Reminders
If you are recording a fitness workout video, make sure to add in appropriate hydration and safety cues. Similarly, make sure to highlight the importance of adequate rest and not pushing through pain. Similar to safety and hydration cues, it is important to tell people if an educational tip or exercise is contraindicated. For example, if you are teaching a shoulder resistance training workout, make sure to point out that overhead movements like a shoulder press might be contraindicated for anyone with high blood pressure. When contraindications are possible, provide any necessary modifications so that everyone watching has options.
Step 7: Infuse Your Personality in Your Group Exercise Workouts
Throughout both the planning and implementation process, make sure to allow your personality to shine through. It is easy to get nervous while recording yourself, but being able to share your personality helps keep participants engaged throughout the entire video. Don’t be afraid to add in humor, smile, and, most importantly, be yourself.
If you want to learn more about this topic, you can find more information within the courses contained in the NASM Online Health Coach Bundle - which explores virtual coaching, nutrition, and traditional personal training.

